Yep old Frank's got a blown head gasket so I noticed it got really hot here when I when I first put the carburetor on and it was starting to smoke from right here so I think the thermostat might have stuck but you know look at it it uh lost oil pressure and is blowing blue smoke out of the back and it's bubbling back out of the radiator so I believe I have a blown head gasket so I'm going to take this all off uh that's a bummer too because I just got the thing running but you know it's Willys Jeep so we'll we're a Willys Jeep apparently is the the new term for it but I gotta take all this the carburetor off you know I just put all this stuff on here the oil baths got to come off they're not the whole bath but the oil filter is going to come off uh it looks like the well stick's gonna come off the vent's gonna have to come off I guess I'll go ahead and pull the new coil off and get a new uh nut put on that so all right so I guess I'm gonna drain the oil and then drain the radiator and get to work hey guys so what we're gonna do today is we're gonna take this uh F head and they blew the gasket so we're going to go ahead and change the head gasket on there um Crown Automotive send me this new gasket seal kit so we'll be using this uh so we're going to do is we're going to spray this copper spray and Gasket high temp sealant and you spray it on the gasket both sides of the gasket not on the head or the block and then we'll be going and putting uh these new stud Bolts from the Jeepster van in we're going to put this thread lock inside of it and torque them down and they get torqued down between 65 and 70 foot-pounds of torque and then I found the chart online so I went ahead and downloaded one two three you gotta do an order so that's what we're going to do today so we're gonna start with that get this head going I'm Gonna Last for it I don't know what to say hey just getting ready to put this head gasket on here and I'm having to look down and look at that and that so I guess we won't be putting the head gasket on here right now because the engine seems to be cracked oh Frank I don't know what to say man all right so we found this little crack right there and from my understanding it's not that not that big a deal so I'm gonna put some of this along the sides of the crack or on top of it and try to fill it in a little bit and then when I put the head gasket head on I'll thread the bolt with this thread Locker red and hopefully that will allow us to have a good running motor we'll see all right there's a two little drops on there I'm just gonna let that kind of soak in that crack hopefully and we'll see what happens all right there's the copper spray on top of the gasket I laid it on there I'm good put the head on head's all nice and clean hope this is gonna work this is the uh tightening sequence on the head bolts and since I think it's funny I went and labeled them okay so now I went when I took the head off and went ahead and cleaned all the push rods so then take push rod and what you do is you're gonna have to look down in there I want to get a flashlight and then yes stick it in there beep
oh she's right in there okay and then go ahead and do the rest of them
yes that's pretty easy
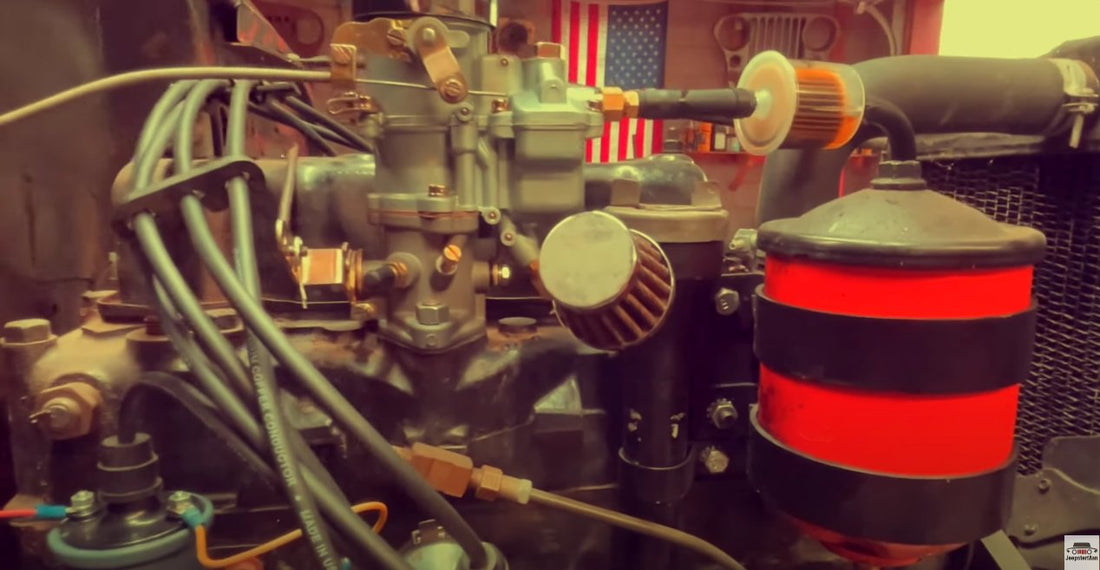
right in there that's what it looks like all right so I've got the head on there the new gasket everything I'm torquing it down but I'm going slowly I don't want to mess it up right you know so I'm gonna do that so the minute time I'm gonna do is I'll put the new water pump that I got from Crown Automotive Sales here it is looks nice I mean the casting looks good so and I I pre-fit all the bolts and everything so it all fits um but it comes with these plugs so this alternate route I'm gonna stick right in here and I pulled this off my old one so you know that'll go in there um it's got a new gasket and then this is the pipe deals for that alternate cooling route so then put a new thermostat on I just clean the housing up I got a new gasket from crown and a new Let's see we can get out the box so far [Music] and a new thermostat so let's check that out it's insane wow that does look brand new okay so we'll be doing that and then attaching the fan going ahead I got the torque uh I think it's like 12 to 17 or is it cooling um 12 to 17 torque on the water pump and 2025 for the uh thermostat housing so let me go ahead and put that together all right so Frank's got a new water pump as easy to install and take about a minute yeah you see it out of the uh plug and this alternate uh water route so I'll put that all together looks good it's starting to look fancy yeah so I thought I got the head bolts on there and was looking all good but I forgot to put this on so I gotta take them back off and put the oil filler filter bracket back on there so keep that in mind
yeah so in my excitement of getting the head bolts and stuff on I kind of forgot besides putting the oil filter bracket on there I forgot to put this on so where is that okay so I got Frank I'll put that together we got the new carburetor put back on the head gaskets new water pump crown just build it with oil and water I hope this thing runs and does not blow up on me check it out let's see how she does
to get a free copy of the Willys and Jeep restoration parts catalog from the Jeepster man go to www.theJeepsterMan.com and order your free copy today