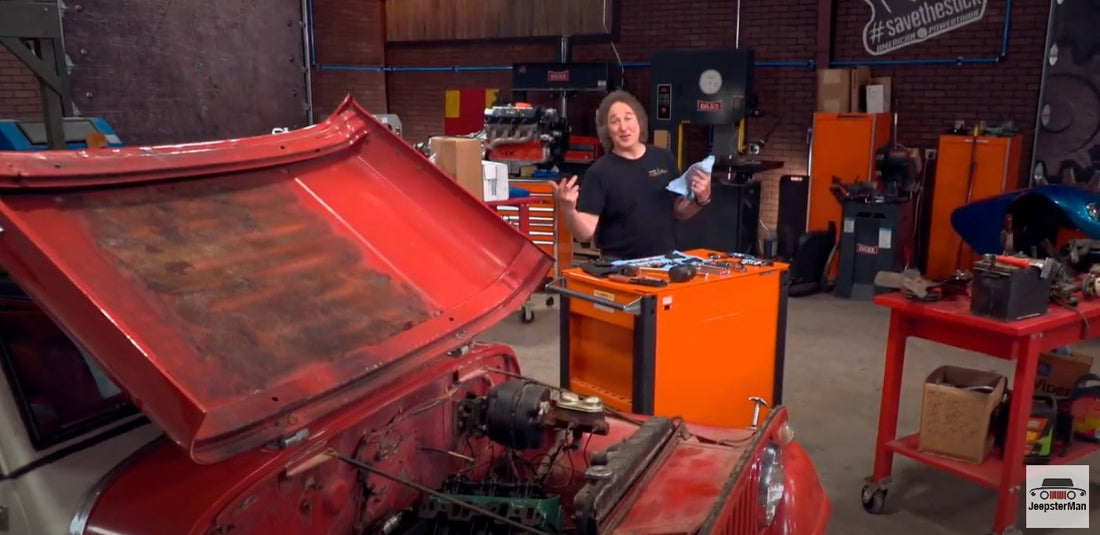
Hey, welcome back to Gearz where you can see we're up to our elbows in a level one restoration on a '67 Jeepster that has just a hair over 8,000 miles on it. Yeah! Now I know some of you guys are probably looking at this going man that is a lot of stuff! I thought a level one was easier than that. No, a level one is get it running and driving safely... which is a lot more involved than just pouring gas down it and trying to start the engine. So we're not messing with the paint, we're not doing anything with the top, the interior, no fabrication. None of that kind of stuff. That all comes in levels 2, 3, 4, and 5. A level one is all mechanical. So it's fuel system, electrical, cooling system, brakes, suspension... that kind of thing. So, as you can see we pulled off everything that's old and crusty that either needs to be replaced or rebuilt, including the intake and the valve covers so we can replace the gaskets.
Of course even on a level one you can expect to have some challenges in the project. For example this original intake manifold originally used two studs and two bolts to hold the the carburetor in place. But if you look closely at that stud, you see how that's rusted and tiny right there? That's just waiting to break! Fortunately we were able to get it out without breaking it off, but the second one... not so lucky. So we eventually had to put in a helicoil so we had metal threads back into the intake. Now, this may not seem like a big deal, but that little guy right there can absolutely ruin your afternoon. It's going to take all of the tools on this table just to fix that problem because first of all, you need need to take a grinder... grind off the broken piece so everything is flat with the flange. Then take your punch... punch down in the center of the stud. Then take a drill... drill down in the center of the broken stud. And then take your easy out... stick it down in there and hopefully you'll be able to work the broken piece out. Now, if it comes out, ah! You're good to go! If it doesn't, you're going to have to drill it out and put in some new threads. Now, how do you do that? Well, you pick up a helicoil kit, and then you take a drill bit in the proper size and drill out all the nastiness. Then you take the tap that's supplied with the kit and tap the new hole. Then you take the threaded metal helicoil insert and put it down in the hole which will then give you threads in metal... where they belong. Now this kind of surprise can absolutely drive you crazy if you're not prepared for it. But, that's the point of these kind of projects... to help you solve problems so you can move on to the next levels.
Okay with everything cleaned up and painted we are ready to start putting stuff back together. But, that broken bolt should be a good reminder of not to reuse your old hardware. Look at this old stuff! That one there I thought was going to break in the head. That would have been a bad day. So there's no reason to reuse this, especially when companies like ARP have all kinds of kits to completely change all the hardware in whatever engine you're working on. And the quality is far better than what you're going to find down at the local hardware store.